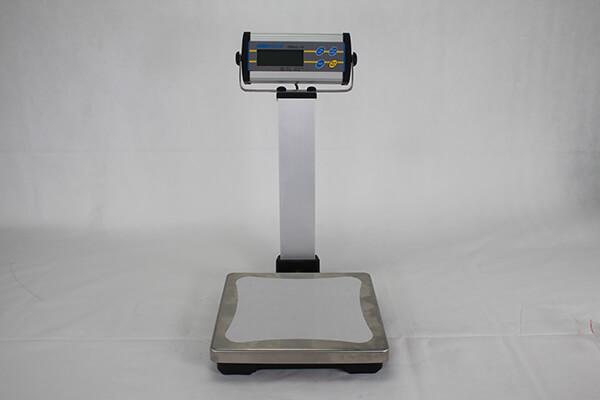
Mounting your CPWplus indicator on a stand allows you to keep the display consistently at eye level. In this guide, we’ll show you how to attach the CPWplus indicator to the pillar.
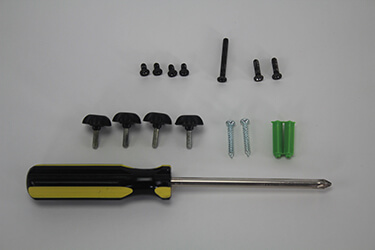
Parts required for assembly:
- Screwdriver (not included)
- 4 x small Phillip-head screws
- 2 x mid-sized screws (black)
- 1 x large screw
- 2 x green stoppers
- 4 x large thumb screws
- 2 x stainless steel pillar cap screws (silver)
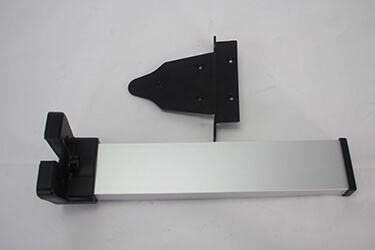
- Pillar
- Pillar end-cap (black)
|
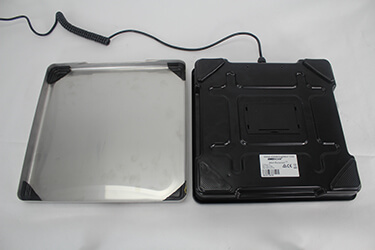
Step 1 Remove the top pan from the CPWplus, and flip the scale over. Position the scale so that the cable connection faces you. |
 |
|
Step 2 Take the black metal pillar support, and place it against the bottom of the scale. Make sure the beveled screw holes are facing out. |
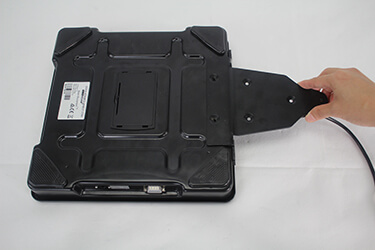 |
|
Step 3 Screw the black metal support on the scale’s platform with the 2 small screws provided. Then, screw the remaining small screws into the black metal support holes to the side of the base. |
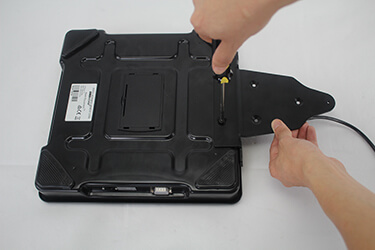 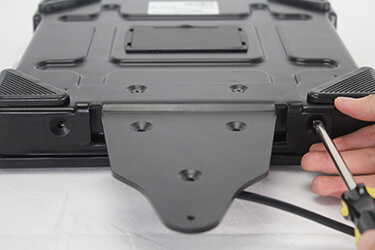 |
|
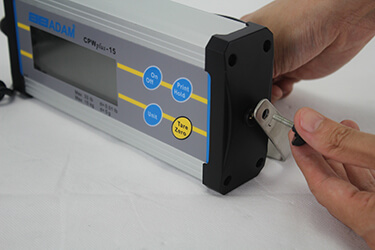
Step 4 Remove the metal bracket from the indicator by taking off the 2 large thumbscrews. The following step is to feed the cable through the pillar itself. |
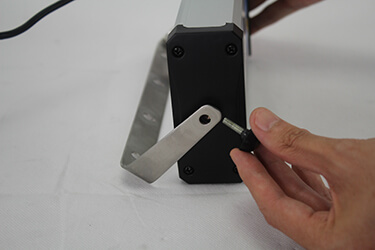  |
|
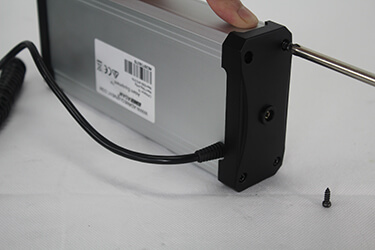
Step 5 Remove the black endcap off the left side of the indicator by unscrewing the 4 Philips head screws. |
 |
|
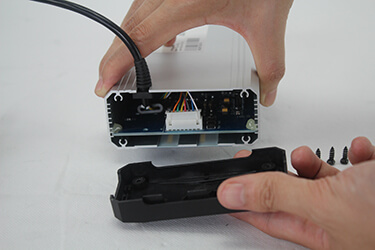
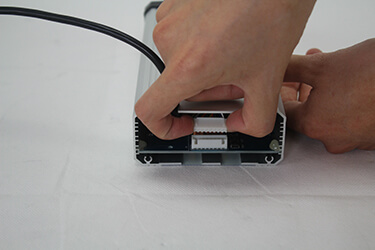
Step 6 Directly inside the now open indicator, you will see a small white rectangular “Molex” cable connecting to the PC-Board. There are 2 hook tabs that keep the cable in place. You need to hold the hooks towards each other before pulling them in order to get the Molex out. |
  |
|
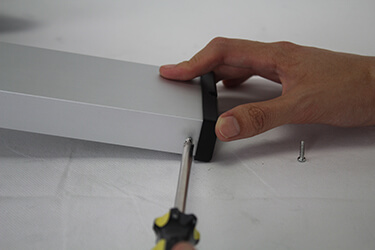
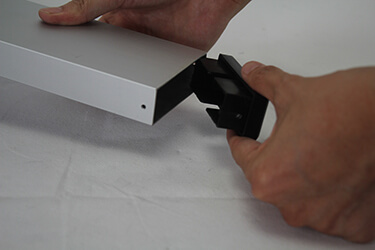
Step 7 After you pull the Molex out, and the cable is detached, you need to take the black end cap off the top of the pillar before putting the cable through. To do so, remove the 2 screws holding the cap to the pillar. Take off the cap, then pull the cable through. |
  |
|
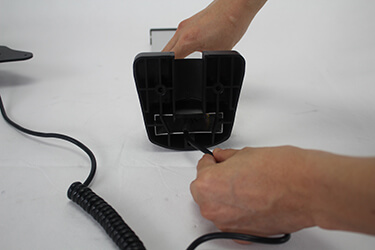
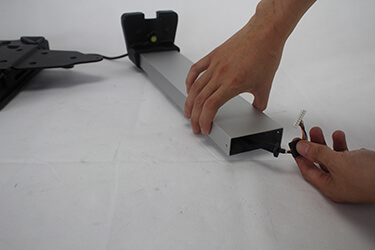
Step 8 Keep feeding the cable until the white Molex connector is attainable through the top of the pillar. Pull the Molex out of the pillar. |
  |
|
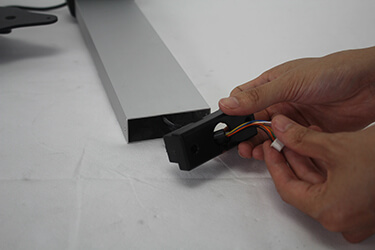
Step 9 Pull the cable through the black cap through the round cutout. |
 |
|
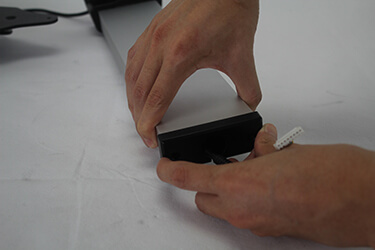
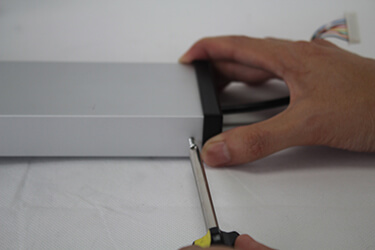
Step 10 Put the cap back on, and screw it in again. |
  |
|
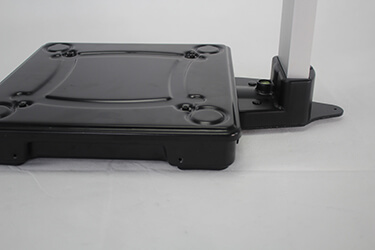
Step 11 Flip the CPWplus back to an upright position and put the pillar against the metal support. IMPORTANT: Make sure that the cable is fed clearly through the center of the pillar. The base of the pillar should not be resting on the cable, as it would throw the pillar off balance. |
 |
|
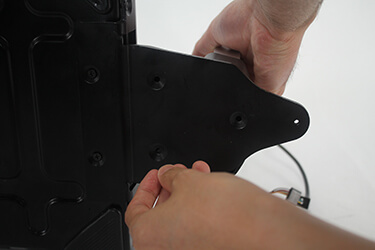
Step 12 Slowly and carefully tilt the scale on its side to gain access to the beveled screw holes on the black metal support. |
 |
|
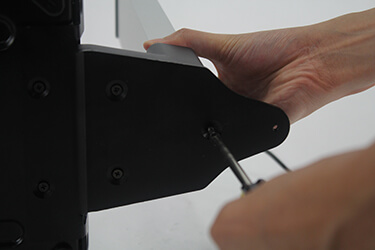
Step 13 Take the long screw and screw it into the single hole closest to the round edge. |
 |
|
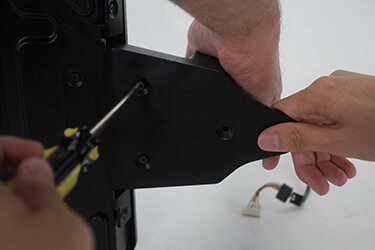
Step 14 Screw in the remaining mid-sized screw in the remaining beveled holes in the black metal support. |
 |
|
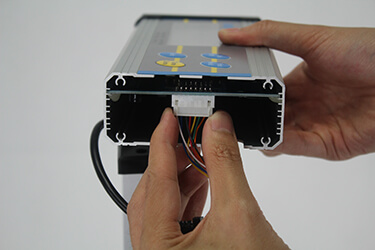
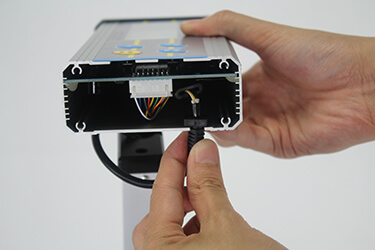
Step 15 Place the scale upright and reconnect the indicator to the white Molex connector. Tabs on the Molex ensure the connector fits properly. |
 |
|
Step 16 Pull the wire through the cutout of the indicator. |
 |
|
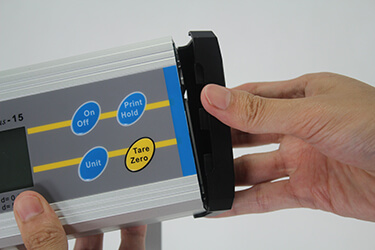
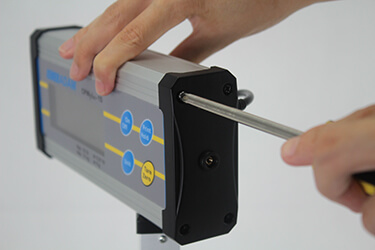
Step 17 Attach the left black cover to the indicator and replace the 4 small Philips head screws. |
  |
|
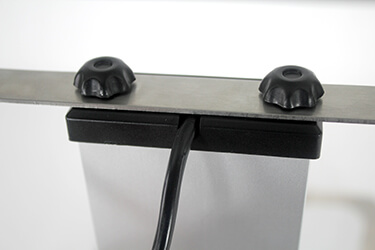
Step 18 Make sure to place the wire in the cutout, or you could damage the wire with the bracket when you screw it back on. |
 |
|
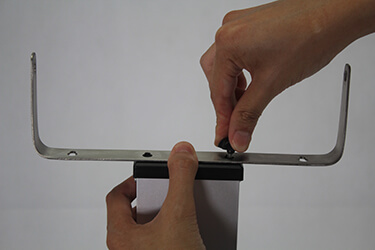
Step 19 Screw the bracket onto the pillar with the thumb screw. |
 |
|
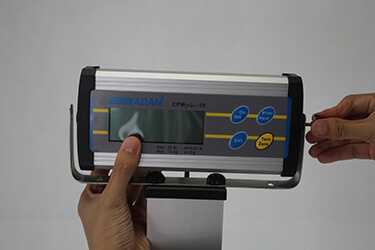
Step 20 Attach the metal bracket on the indicator to the top of the pillar using the 2 thumb screws. |
 |
|
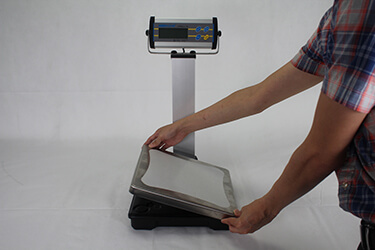
Step 21 Put the pan back on the scale. IMPORTANT: When placing the stainless steel pan back on top of the base, make sure the notched side of the pan is facing the pillar. |
 |

