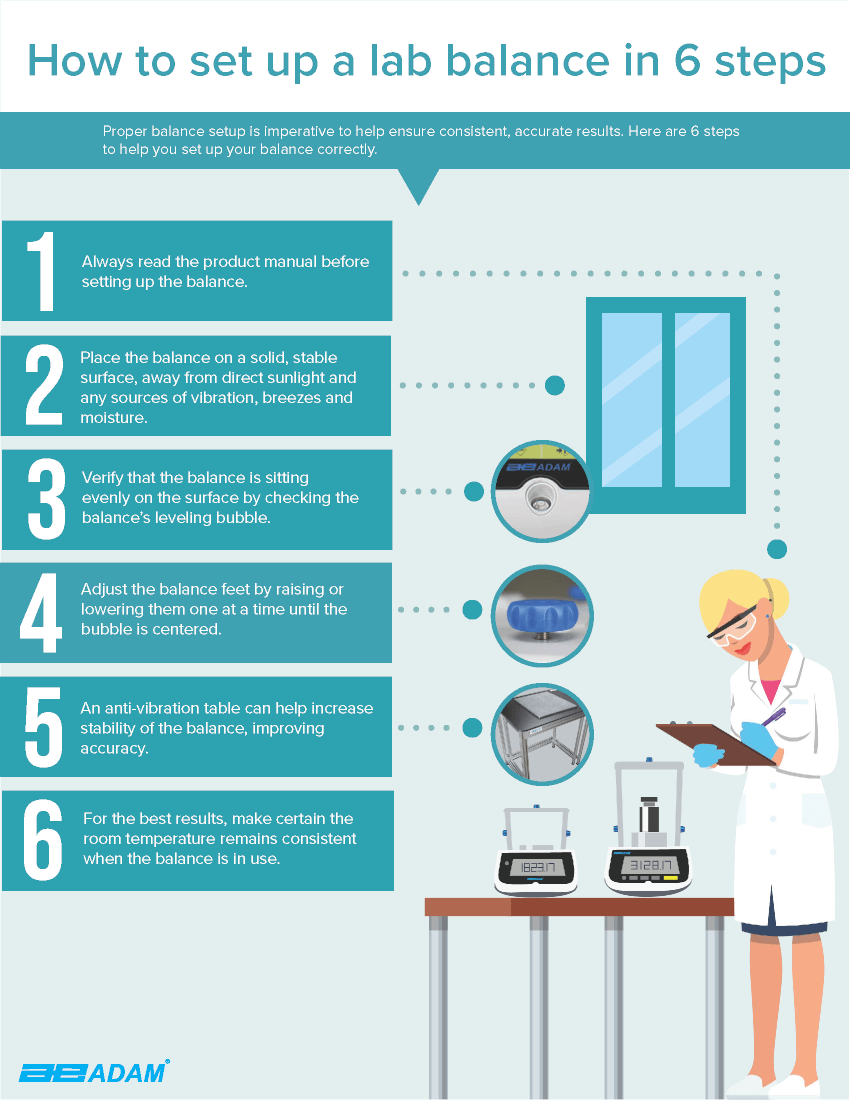
Setting up your balance correctly helps ensure reliable results and a stable work-space. Incorrect setups can create errors and force users to calibrate the balance more often, which can waste time and money.
1) Read the manual for your balance
Always read the product manual before setting up the balance. The manual has helpful tips, diagrams showing how to unpack the product, and more. Our product manuals are available in various languages on our website. You can find them on the product pages or by clicking on this page containing all manuals.2) Avoid environmental interference that may disturb the balance
Place the balance on a solid surface, away from direct sunlight and any sources of vibrations, breezes, and moisture. At this level of precision, even the smallest disturbance can affect the balance, the samples, and the results. Certain samples are volatile, and could become dangerous or unstable when exposed to variable conditions, which could damage the balance.3) Make sure the balance is placed on a stable surface
Verify that the balance is sitting evenly on the surface by checking the balance’s leveling bubble. If the balance is stable, the air bubble should be at the center of the spirit level.4) Adjust the balance’s feet
You should raise and/or lower the balance’s feet one at a time until the bubble is centered.5) Consider using an anti-vibration table
An anti-vibration table can help increase the stability of the balance, improving accuracy. It also creates a work-space dedicated to precision weighing.6) Maintain consistent room temperature to avoid weight fluctuations
For the best results, make certain the room temperature remains consistent when the balance is in use. Depending on the temperature, certain materials can expand, contract or lose water weight due to evaporation. Changes in temperature can also affect density measurements.Click here to download your free 6 step guide to setting up your lab balance.

