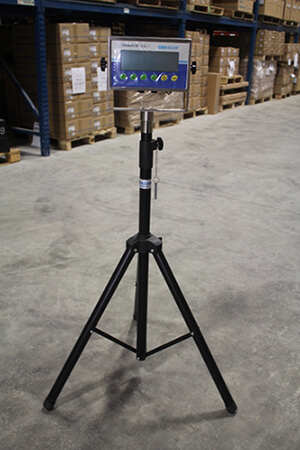
How to put the AE 403 indicator on a stand
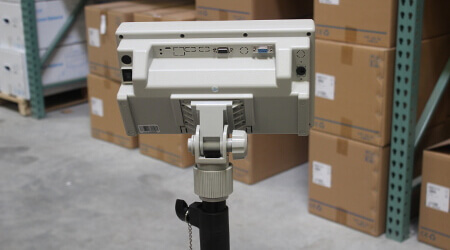
Putting your 403 indicator on a stand ensures it’s still portable (unlike when it’s fixed to a wall) and consistently at eye level. In this guide, we’ll show you how to attach the indicator to the stand.
Included with the indicator stand: |
|
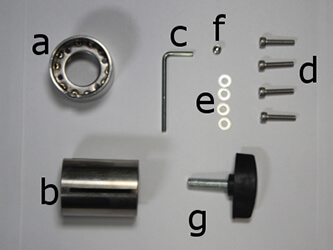 |
a) Metal collar b) Adaptive collar c) Allen key d) 4 screws e) 4 washers f) 1 bolt g) 1 tightening knob (spare part) |
Included with the indicator: |
|
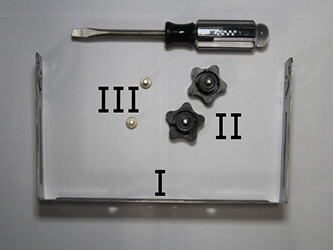 |
I - Mounting bracket II - 2 turning knobs III - 2 screws |
|
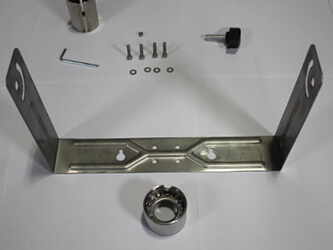
Step 1 Unbox the indicator and all the parts. Make sure all the small pieces are accounted for. Grab a flathead screwdriver (not included). |
 |
|
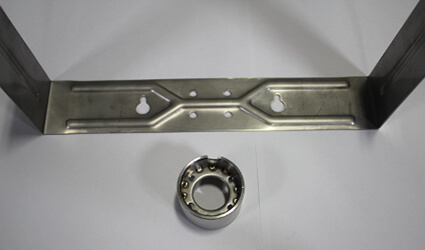
Step 2 Take the mounting bracket of the indicator. |
 |
|
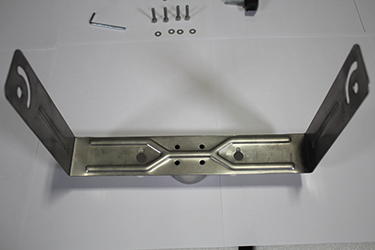
Step 3 Take the metal collar. You want to fix the collar to the bracket |
 |
|
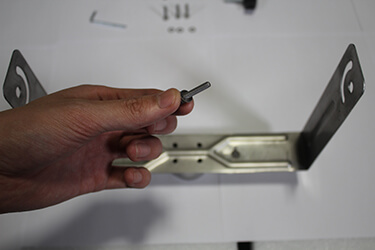
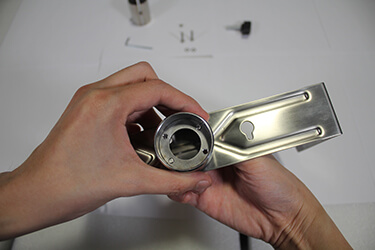
Step 4 Align the metal collar with the holes at the center of the indicator’s metal mounting bracket. The metal collar should be under the bracket like so. The metal collar has a hole to the side, which should align to the back of the indicator. The hole should also be closer to the metal bracket. |
 |
|
Step 5 Align the washer pieces with the holes. Place the screws in each of the holes, and tighten by hand to make sure they don’t fall out. |
 |
|
Step 6 Using the Allen key, tighten the screws to make sure the ring is well fixed. |
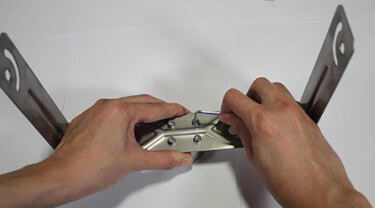 |
|
Step 7 After the ring is screwed to the indicator, align the holes on the side of the indicator and the side of the metal bracket. There are 2 screw holes on the side of the indicator. The screw should be inserted into the hole in the middle of the side of the indicator. |
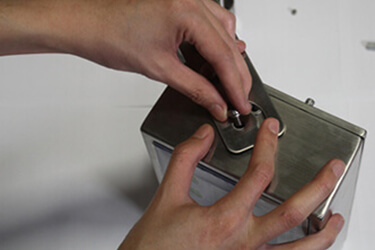 |
|
Step 8 Screw the indicator to the metal bracket with a screwdriver. |
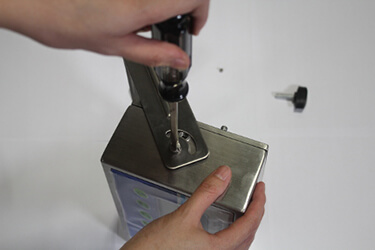 |
|
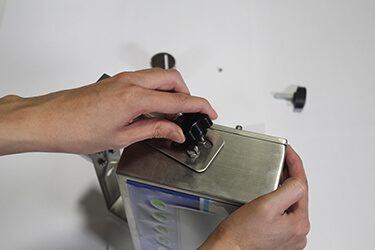
Step 9 Take the black knob, and tighten to the hole above by hand. |
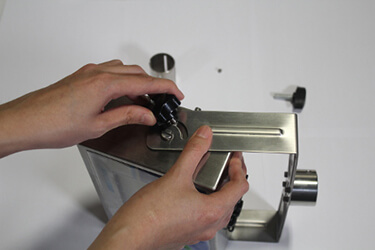 |
|
Step 10 Repeat this procedure on the other side. |
 |
|
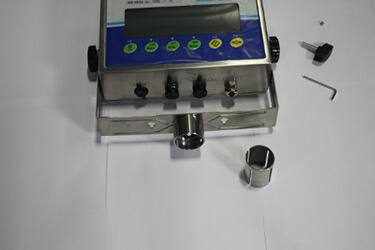
Step 11 Take the metal adaptive collar. |
 |
|
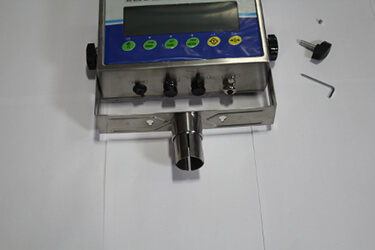
Step 12 Push it in the indicator’s metal collar. |
 |
|
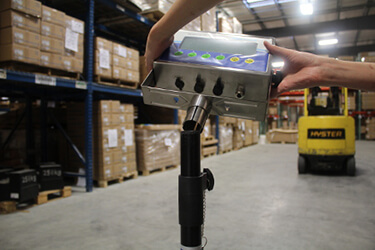
Step 13 Once it’s firmly attached, you can slide the indicator on the stand. Slide the metal adaptive collar in the black tube. |
 |
|
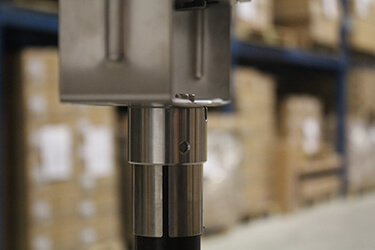
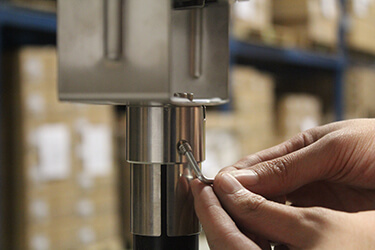
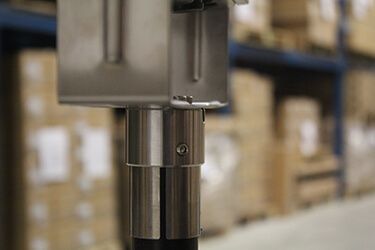
Step 14 You’re almost done! On the back of the metal collar, there is a hole. Place a bolt in the hole, and tighten it. This will attach the indicator to the stand. |
   |
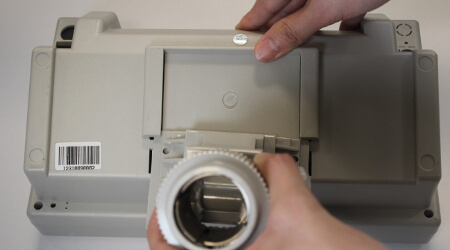
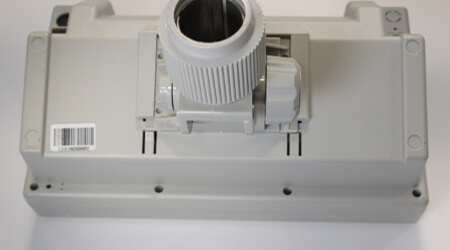
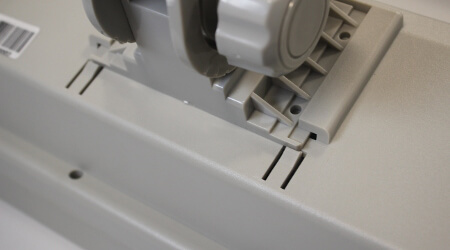
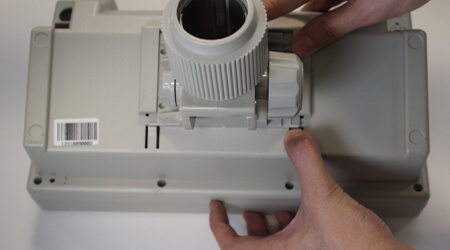
How to attach the AE503/504/GK/GC indicator to an indicator stand
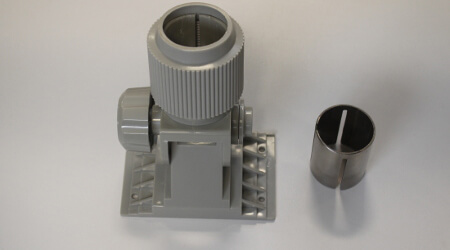
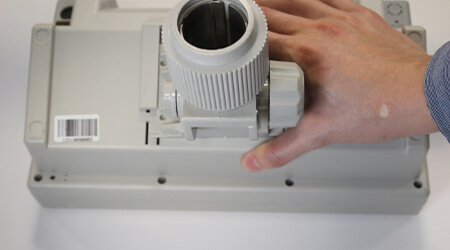
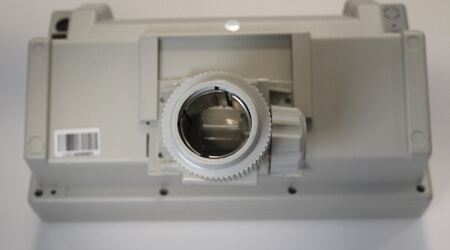
- Unscrew the bracket holder at the bottom of the grey mount.
- Slide the adaptive bracket in.
- Screw the bracket holder back on.
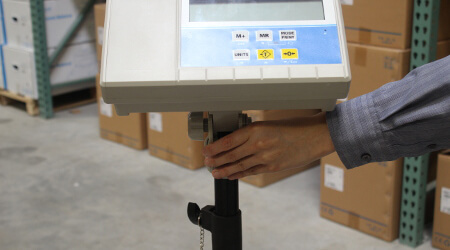
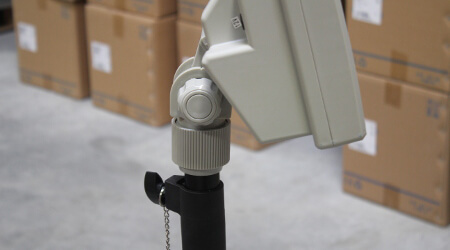
- Slide the indicator to the bracket. Make sure it’s securely fixed. You should hear a pop when it’s attached.
To learn more about Adam indicators and the products they are compatible with, please see our designated weighing indicators section or contact us directly for more information.
 |
 |
 |
 |
 |
 |
 |
 |
 |
 |

